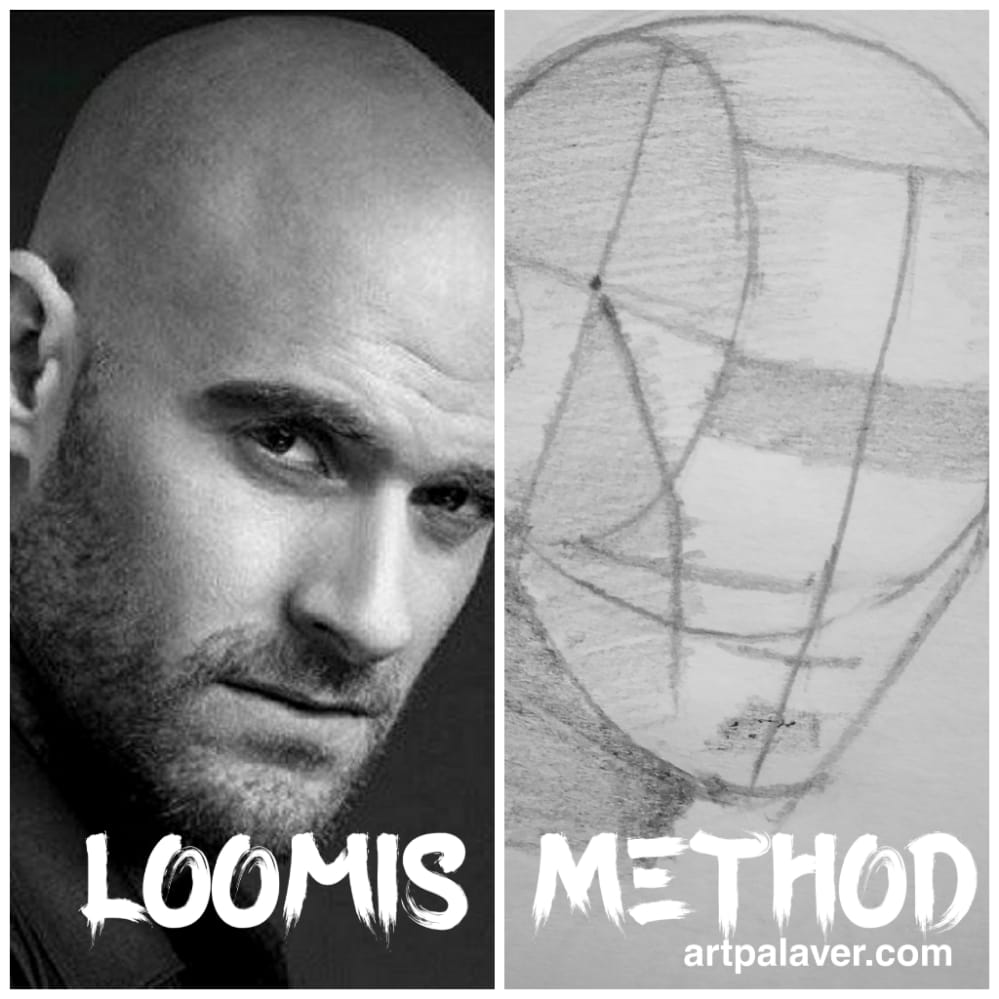
Drawing a human head is so frustrating and hard to draw because of various angles and proportions. but Loomis method is very helpful in that and saves very much time.
In 1956, Andrew Loomis developed a technique to draw a head in his book called “Drawing the Head and Hands.” this method was very easy to understand and simple to follow.
this method becomes very popular at that time and Artists use this method today also.
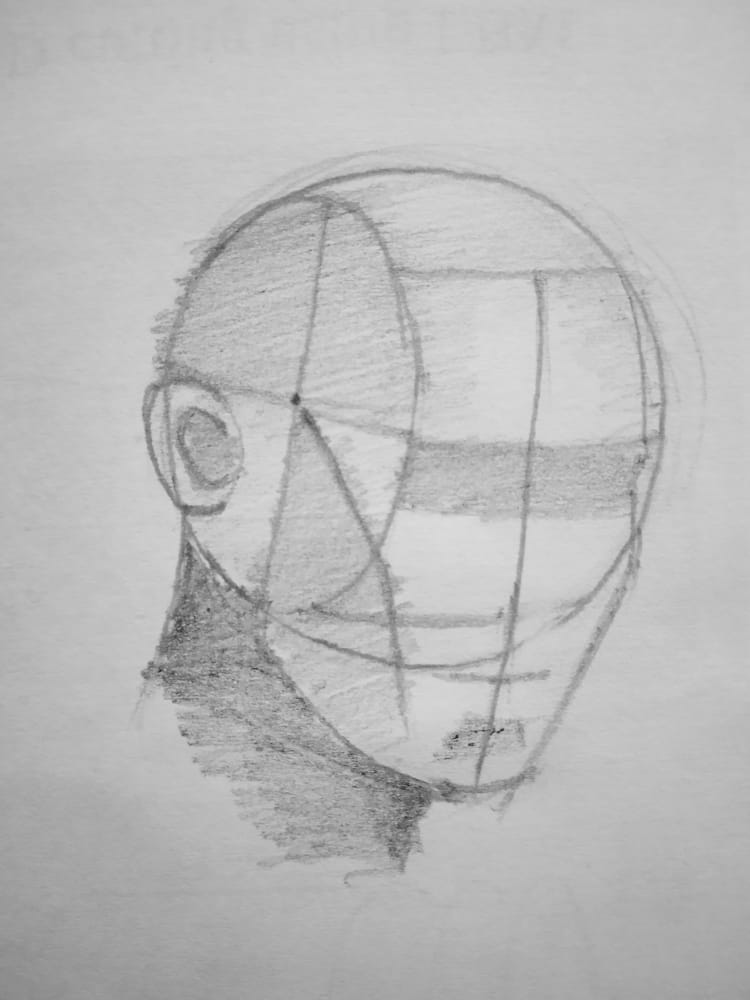
In this article, we included 5 steps that may help you to draw a head by Loomis method
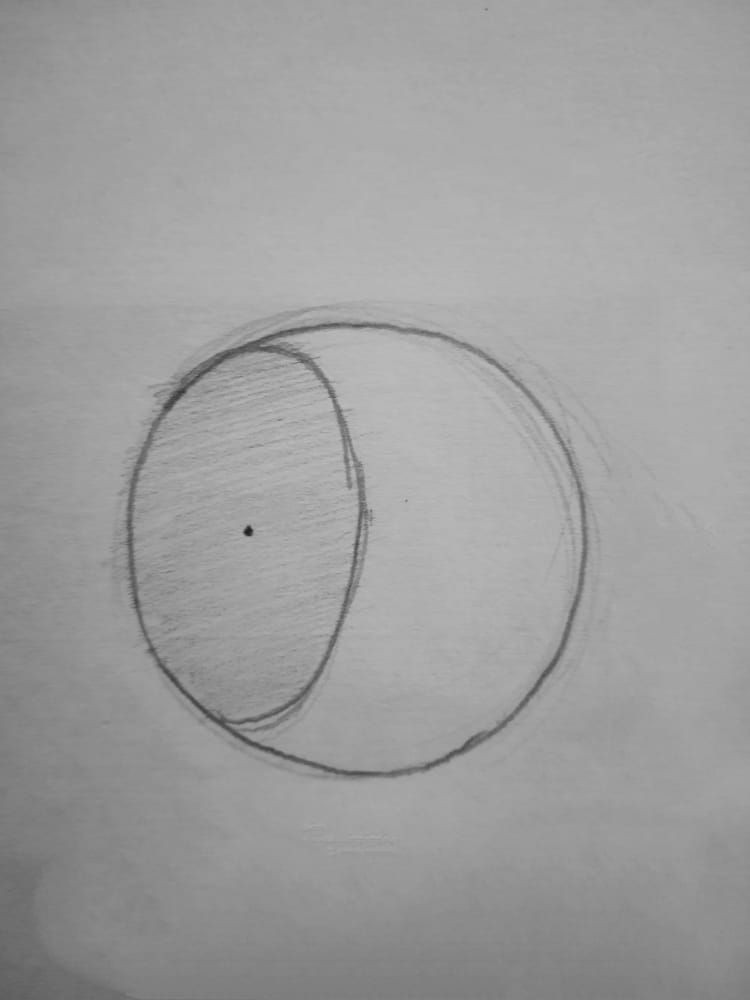
Step 1 : Draw a Circle
measure the length of your figure’s hairline to nose and Draw a small circle of that diameter.

Step 2 : Cut The Circle
Then measure the width of the face and then cut the circle as a sphere.
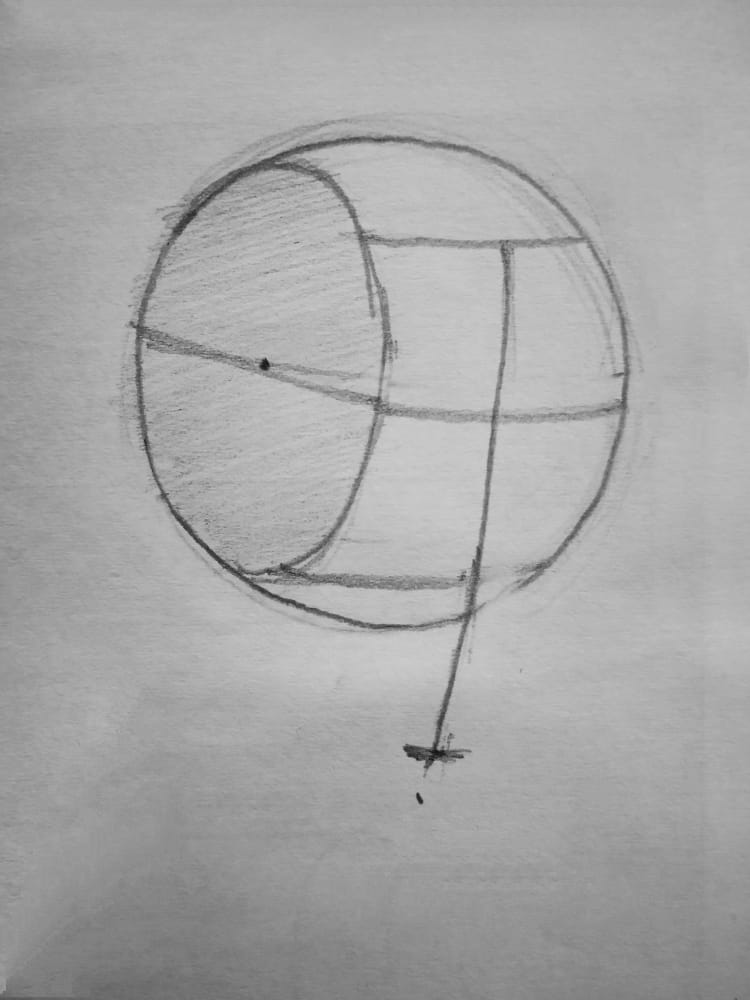
Step 3 : Measure the proportions
measure the proportions of your figure’s nose eye and chin. and draw lines according to it.
mostly length of the hairline to eye, Eye to Nose tip & Nose tip to Chin is equal.
always draw a verticle central line on the face. to draw symmetrical parts on face.
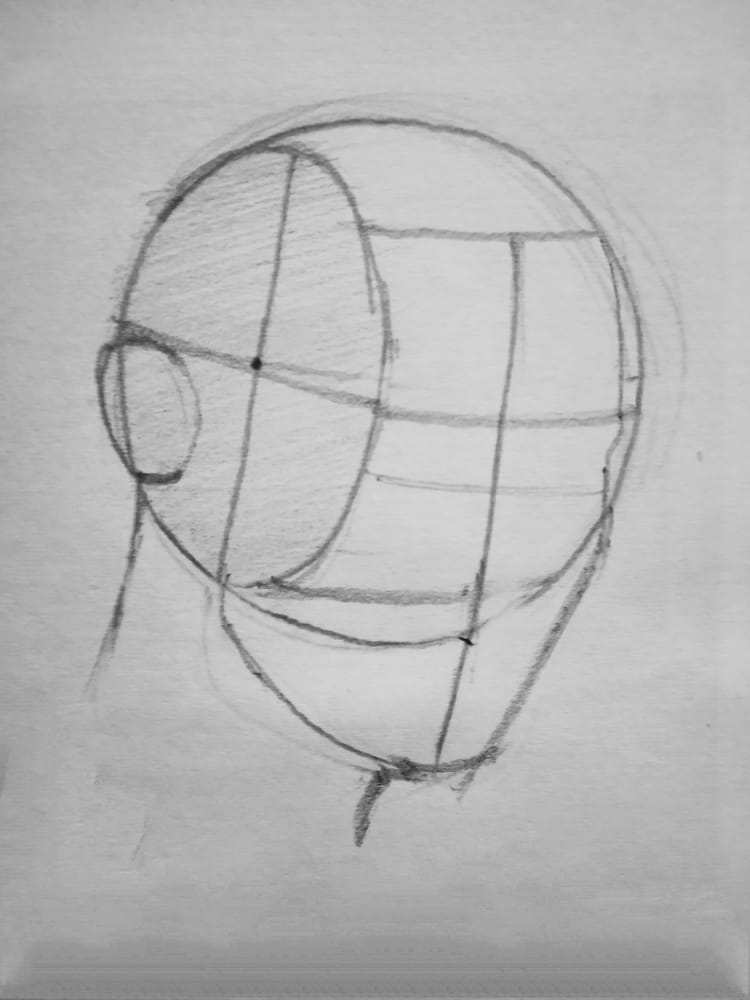
Step 4 : Draw according to Proportions
Measure the length and angle of your figure’s jawline, mark the position of eye, nose, ears and draw according to it.
Step 5 : Make some light & Shadow
Lastly, shade the drawing as you sculptured it.
Also read : 3 steps you should follow if you can’t draw
